Even though QuickForm is a form builder, you can make great stores with it, and in a way that no other store builder can do. It can create products with a dynamic structure with a calculator of any complexity, including an individual calculator for each product. Goods can be presented as separate projects or as a single project. In the latter case, the entire store can be placed on one page, that is, to make a store for a one-page site.
Unlike other shop scripts, QuickForm doesn't have some of the interfaces they require, most notably product categories. To display products, you need to use any other catalog, for example, the standard material manager in Joomla! or wordpress. I didn't want to overload the form builder with functions that would be rarely used, because compactness and speed are built into the extension concept as the main points. This circumstance determines the limits of its use. QuickForm will be a good choice if you have a small number of products in your store. If you plan to work with more than a hundred products, it will be inconvenient due to the fact that each product must be manually entered on the page.
If you are a programmer, it will not be difficult for you to add any functionality to both the frontend and the backend. QuickForm has only a few simple code files. For individual orders, I made a built-in catalog, Internet acquiring, connected delivery services, a user account, sales schedules in the admin panel. It expands easily.
What is already in QuickForm? In fact, this is the functionality of a cool Ajax cart, in which you can add projects (forms) of the component, including all their powerful set of features - dependent fields, a calculator, and so on. To do this, instead of the "submit" button in the form, you need to insert the "addToCart" button. Well, that's all. You also need to go to the global settings of the component and enable the store mode there, after which a new link "cart settings" will appear in the QuickForm menu. Let's consider them below in the text, and now about the minibasket module.
After the form with the "addToCart" button appears on the site page, the component will show a minicart glued to the bottom right of the page. In addition, a customizable mini-cart can be displayed by the mod_qf3 module in the cart mode. (WordPress uses the [qfminicart] hashtag). Such a module can be placed on all pages of the site, for example, if there are no forms with products on the page. The "glued" minicart can be hidden.

Individual approach to each product is the strength of QuickForm. Different projects can be displayed on different pages and on one page. Each project, in turn, can represent one or more products at once. The cart can be tested. Just don't email it to me, please...
An example of what a QuickForm product might look like:
When compared to a typical online store, it is obvious that QuickForm will be more convenient with a small number of products - up to several dozen. It is more difficult to create a product on it, but the product has more possibilities. The advantage is the speed of the store, as QuicForm does not slow down the site.
Now I want to talk a little about the settings of the shopping cart itself. They include several tabs, which we will look at in order.
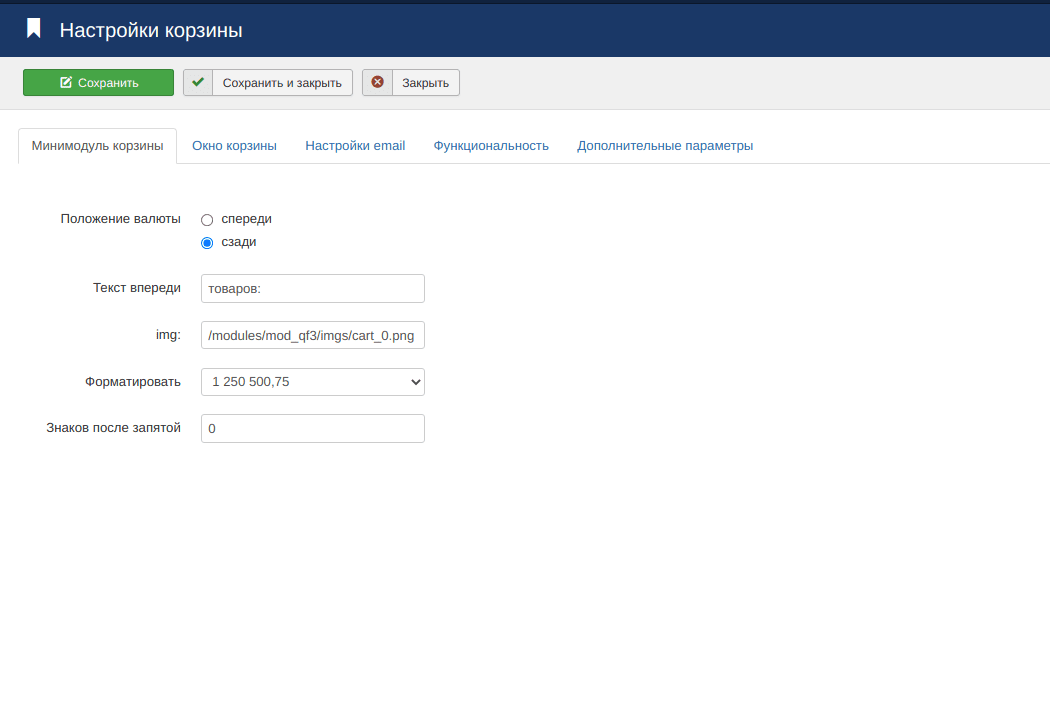
1. The first tab is responsible for the output of the mini-cart module. There is nothing to describe here, you can set the position of the currency and the formatting of the price. The currency itself is set in the product by the calculatorsum field and can be different for different products. Be careful, " usd " and "$" are different currencies. Currencies can be amps, kilometers, and so on. In addition, one product may have several amounts or not at all. If QuickForm cannot calculate the total amount, it will show the number of product positions.
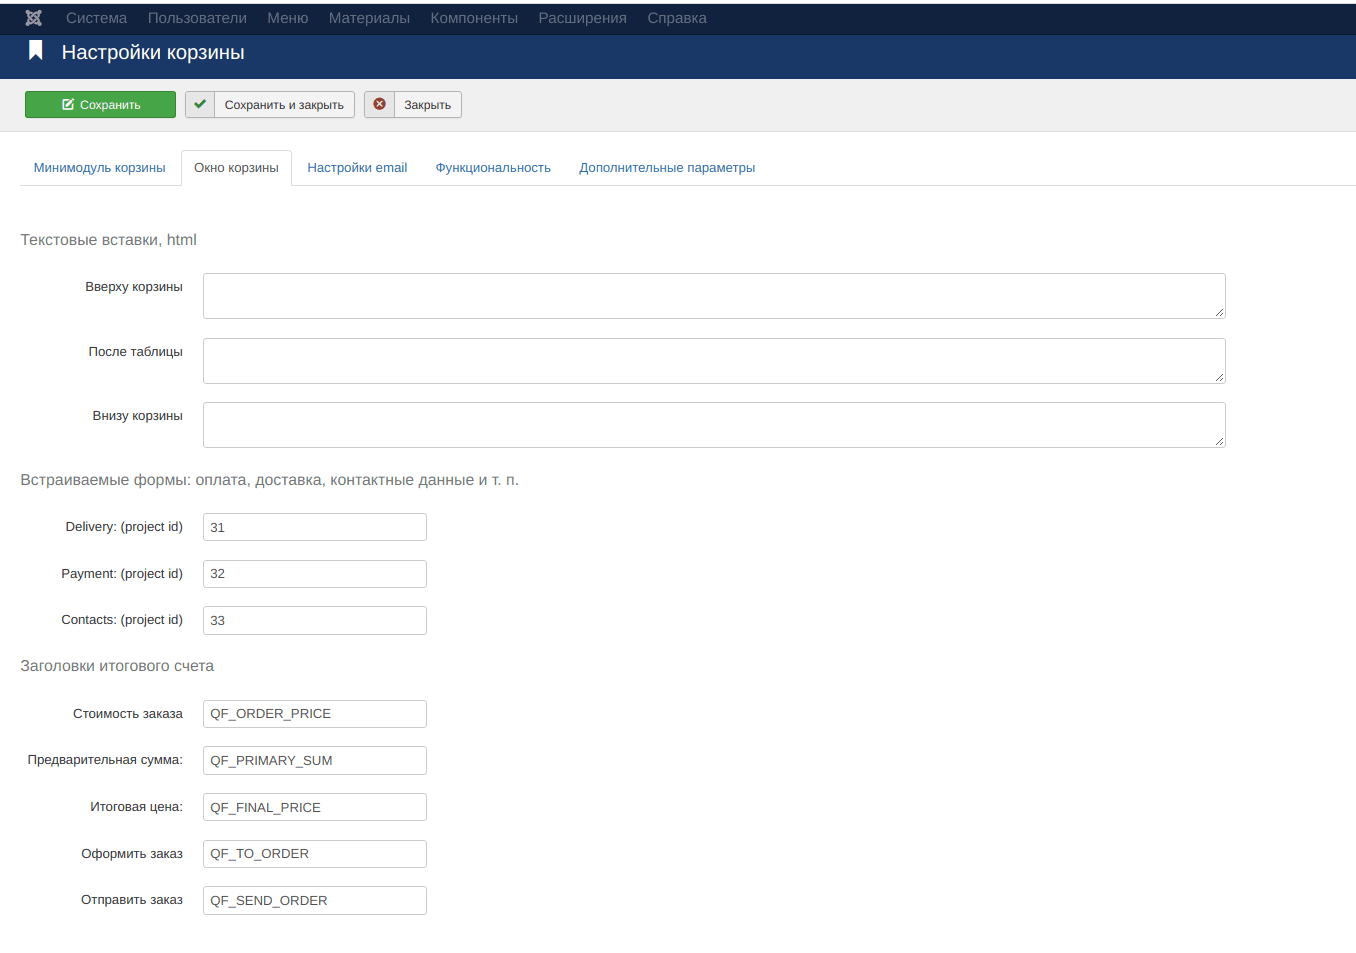
2. The second tab configures the display of the store's shopping cart window. At the top there are three fields for inserting html code, I have not used them now.
Then there are three embedded forms: payment, delivery, contact details. In principle, it can be anything, the names are arbitrary. The difference is that the first two will be displayed at the bottom of the cart, and the third will open in a modal window. If it is enabled, instead of the "send" button, there will be a "checkout" button. As for the functionality of embedded forms,it is preserved in full. In the example, I use dependent fields, a calculator, and even dynamic embedding of one price position (payment by bank card). Thus, you can very flexibly configure the final calculation of the cart, with almost no restrictions on the possibility.
There are text variables at the bottom (my site is in two languages). You can replace them with your own text.
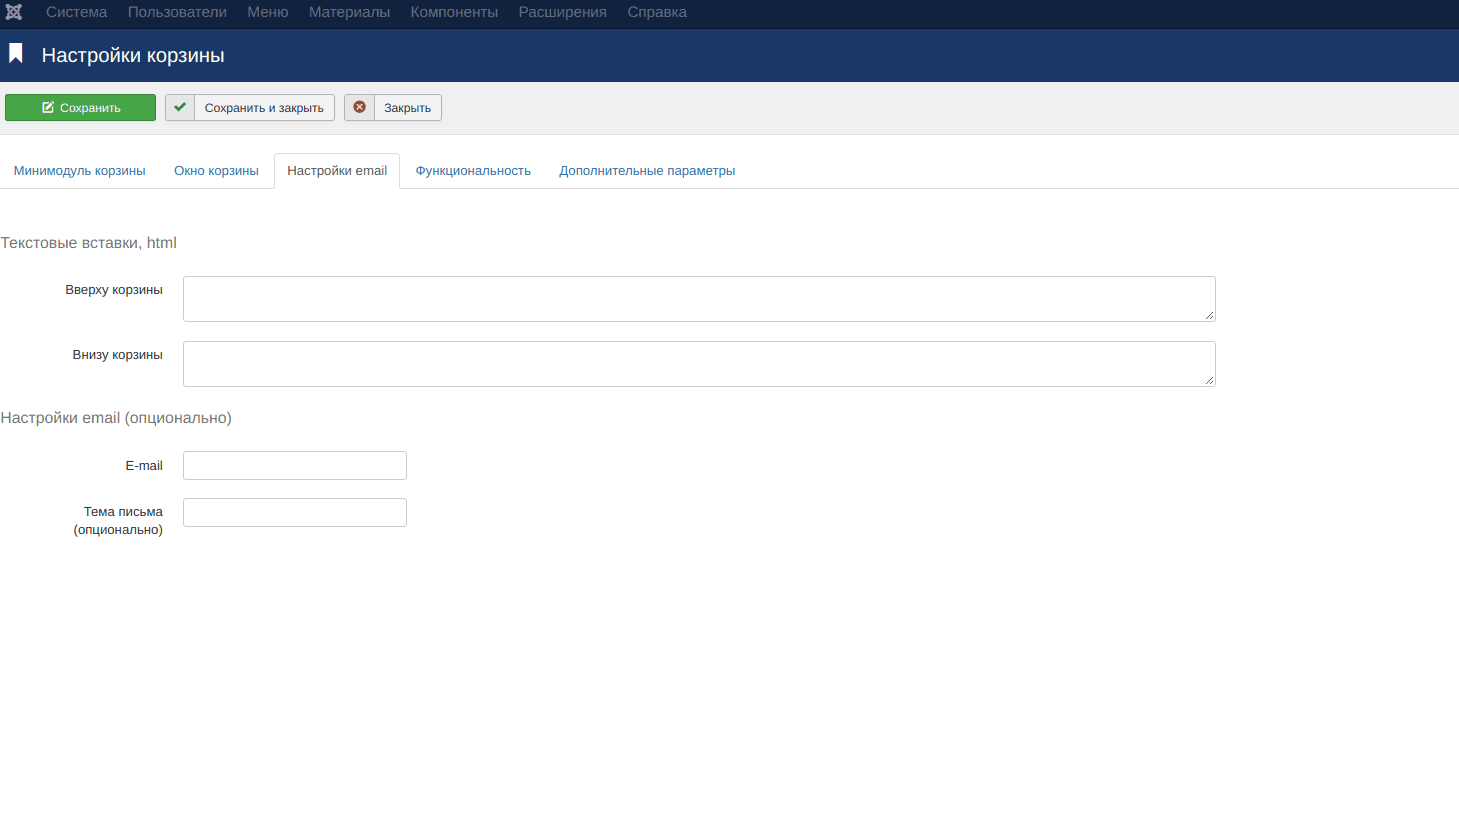
3. The third tab is responsible for the email message. At the top there are two fields of text inserts for the email design. Below the E-mail field, you can enter several addresses separated by commas. Then there is the subject of the message. As in the component itself, you can add replacement variables to the subject: {replacerName}, {replacerId}, {replacerDate}.
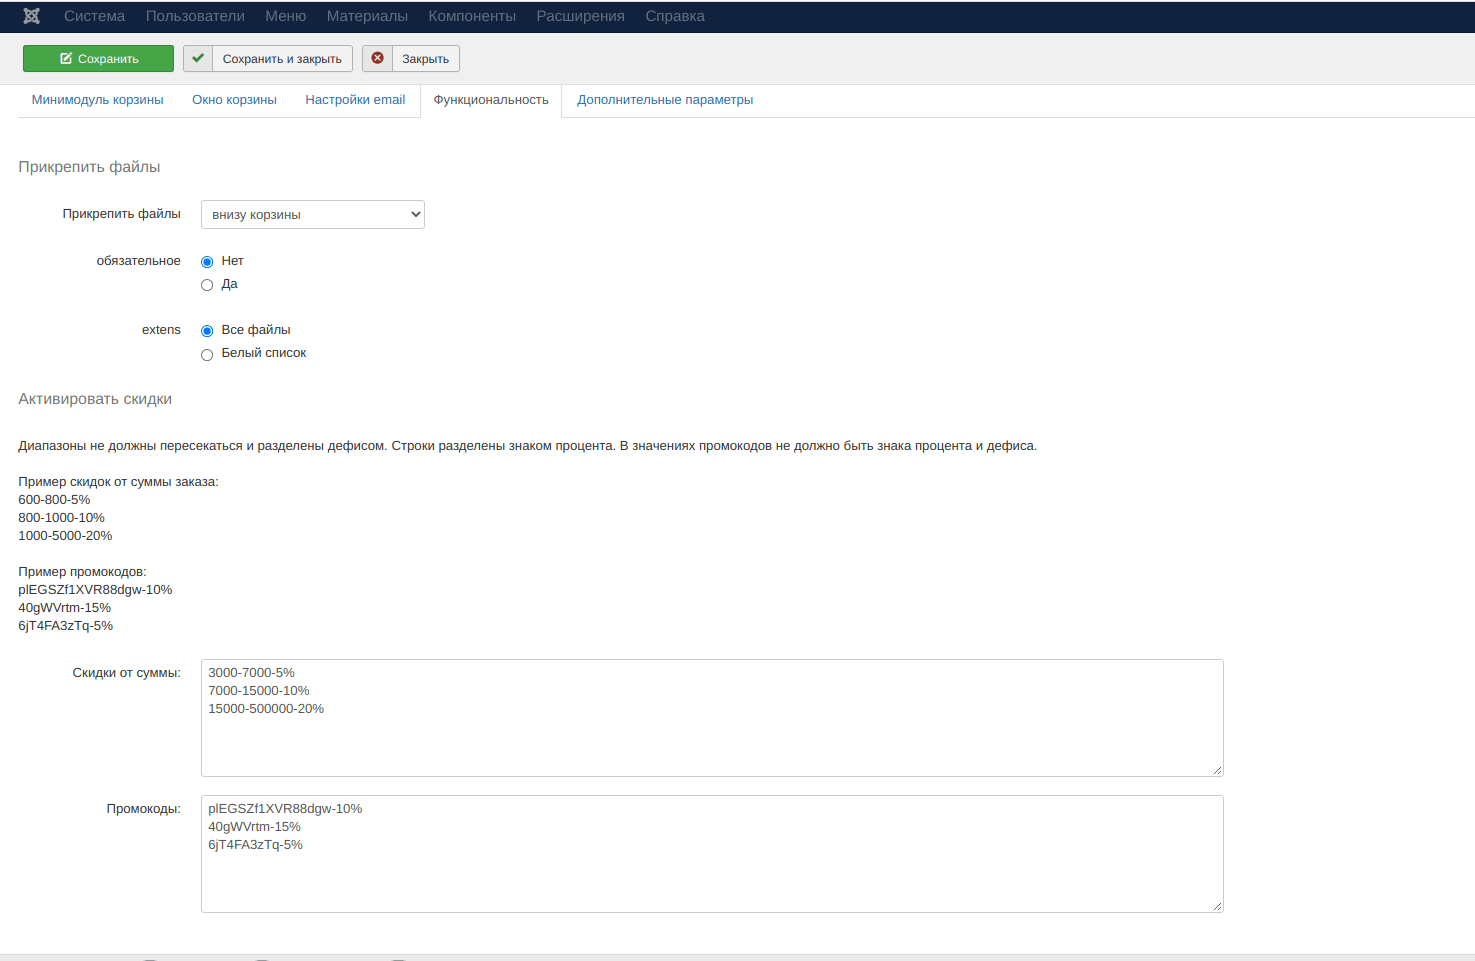
4. The fourth tab develops the functionality of the shopping cart. It includes an interface for downloading files and discounts. To activate the file upload, you need to enable the "upload files to the server" option in the global settings of the component. After that, this functionality will be available. And how to attach files: at the bottom of the cart or in each item. In my example, the files are attached at the bottom, but sometimes it is necessary to attach files to each product. For example, for a printing products store, because layouts are attached to each product.
In the latest versions of this component, downloading files is not related to the functions of the engine, it is an independent process. Therefore, there will be no unexpected surprises and restrictions. Files can be filtered with a white list or not filtered. In the latter case, the plugin will load any, except those that are dangerous for the server and the site. You need to understand that the file is safe for the server, it may not be safe at all after you have downloaded it to your computer and launched it. However, this applies to any files from the Internet.
To activate discounts, just fill in the appropriate field. At the same time, a discount from the total amount, a discount on a promo code, or both will appear in the cart. The discount on the promo code takes priority and suppresses the discount from the amount. The description is in the component itself.
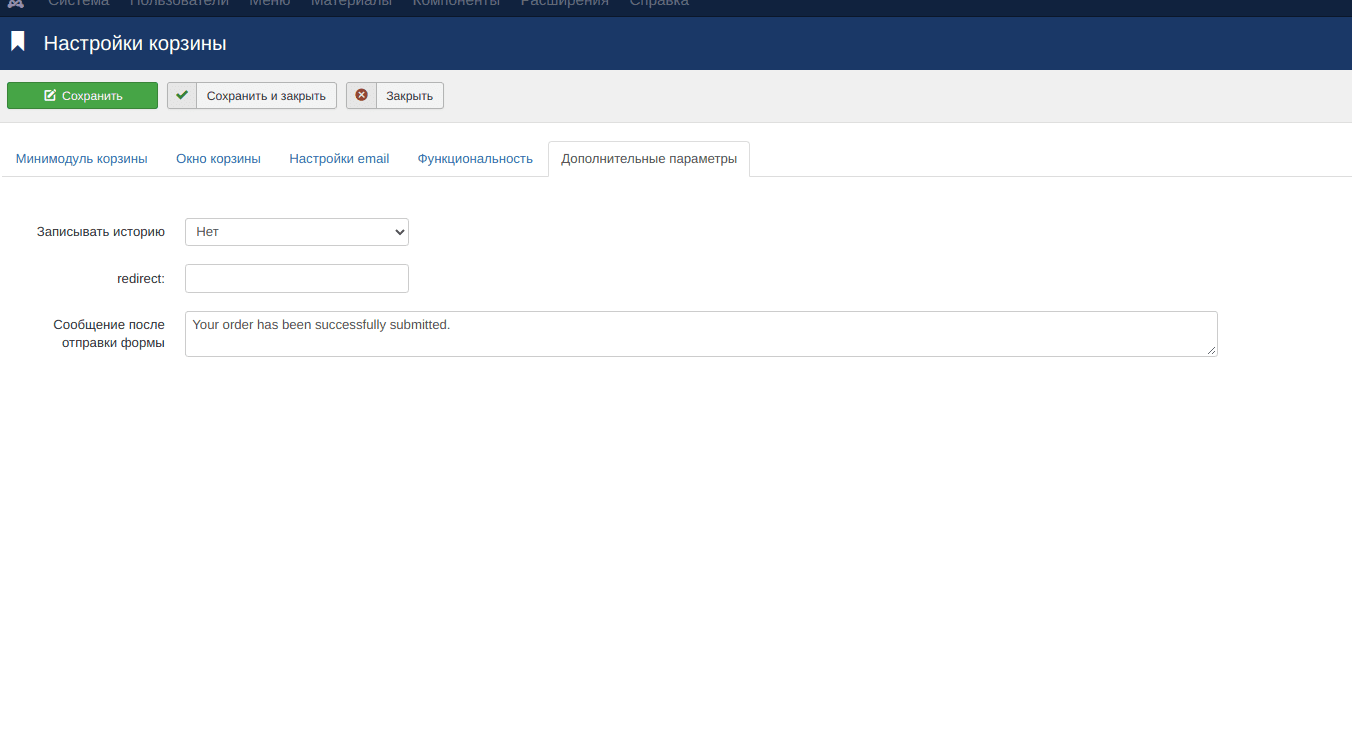
5. The last tab includes additional settings. Here you can choose whether to record order statistics in the database. Make a redirect to a specific page after the order.Also, fill in the text of the message that the user will see after the order is sent. You can use substitution variables in the message.
As a recommendation, I can advise you to always use a mini-cart on the product pages, even if the store operates without it. Do not use the built-in default.css style file. It will be overwritten during the update, and your edits will fly off. Create your own css file in the same folder, copy the styles and edit them. The selection of this file will be available in the settings.